
This post first appeared on Edudemic.
So you finally got a class set of iPads and you are not sure what to do next and where to start? Here is a very simple list of tried and true tips to help.
1. Don’t Start Collecting Apps! – This is every teachers first inclination. So Stop! Stop scouring the internet for apps you think you might use with your class. “All the apps a student or teacher really needs should be able to fit on one screen of your iPad.” Justin Reich writes about this in an article about the core use of iPads in the classroom. Spend your summer getting to a know a few good creation apps like Explain Everything and iMovie, and start the journey to understanding curation apps like Evernote and Notability. Spend your time this summer concentrating on a select but innovative few. You may also want to read this article The Evergreen iPad: Why all your apps should fit on one Screen.
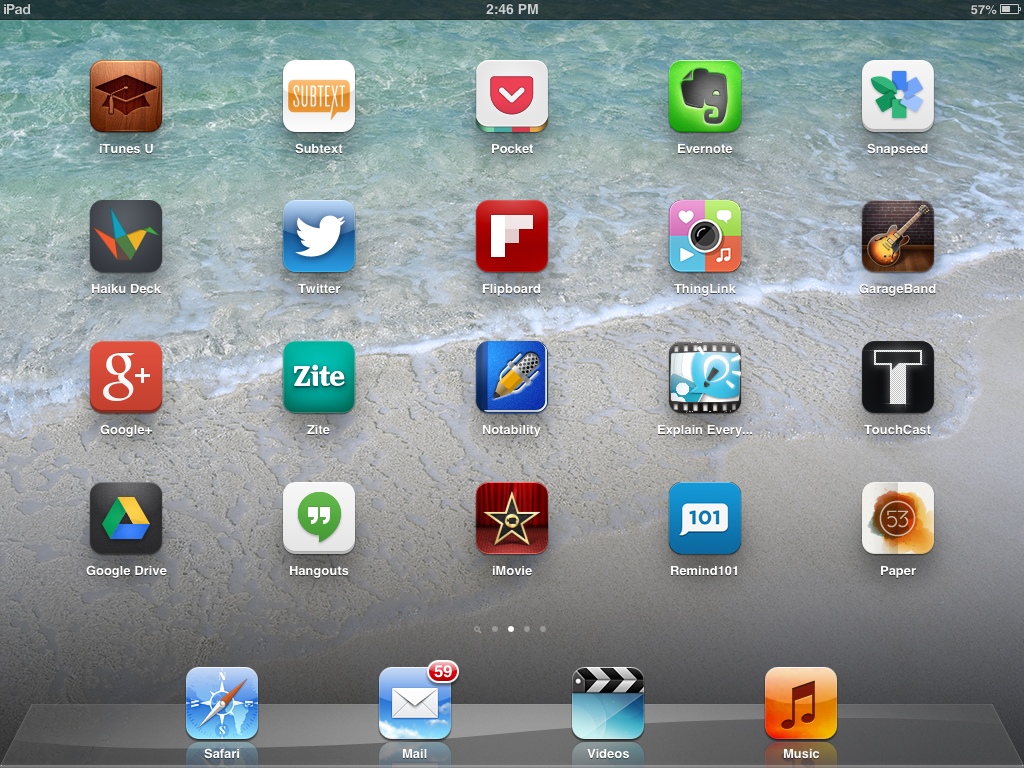
Here is my onescreen of Apps – these include a few of my own personal productivity favorites.
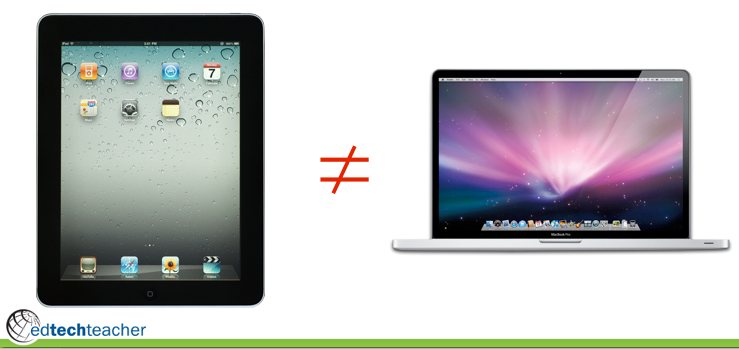
2. Remember the iPad is Not a Computer. The purpose of an ipad is to be a creation device, it is NOT a small laptop. If you like having a keyboard – that is great, so do I – but chances are your students don’t care as much. I have seen a high school junior swiftly and easily type an entire English paper on an iPod Touch. This article: 5 Critical Mistakes Schools Make with iPads cautions against “treating the ipad as a computer and expecting it to be a laptop.”
3. Learn about the SAMR model – As you begin to make new lessons that you will  deliver with the help of your exciting new device – think to yourself – where does this lesson fall on the SAMR model? How could I make this lesson one that is above the next line? It’s okay to start with a substitution -using iPad for writing or basic online research as you gain familiarity with its true potential. One day it will hit you. Like a stream on its way to the rapid, an idea to augment or even modify a lesson will materialize. From that point on, you will start to understand how to make your way to the redefinition process – but it takes time – learn to be okay with that.
4. Put some limitations on the “decoration” of the devices. Have some ideas in mind about the personalization of the devices before you start the school year. I recommend that you have this discussion WITH the students and involve them in making the guidelines together. Here are some questions to consider.
-
How many pictures will you allow on the camera roll?
-
How many movies will you allow them to have on their iMovie at one time? Warning: If they have too many pictures and movies on the device, their iPad will lock up – and they will have to erase everything.
-
Will they be allowed to have their own apps – if so, should those be on a separate screen and toward the end?
-
Will you allow them to choose their own background – or will you use a picture of a number as the background so you can easily identify the iPad?
-
Will you allow iMessaging – and if so, will there be limitations to when those can happen and the message content?
-
When you are done with the lesson – and they finish early – what sites and activities will they be allowed to do?
-
What are your expectations about charging the devices?
-
When kids take pictures or movies of each other – what will the proper etiquette be? Will they have to ask to the person before they take picture (I recommend yes) and how long can they store that picture?
Suzy Brooks has a great example of an “iPadding License on her blog. This is a brilliant way to make sure kids are ready for the journey.
4. Workflow – Understand that your students will make a plethora of digital products now, and you will need to come up with a plan for housing them in the Cloud. iPad does not have a ton of memory – so you need to get products in the cloud relatively quickly. There are several workflow apps that serve different functions. Your team will need to decide on at least two: You will have to do some research for this but I found the EdTechTeacher Vimeo Channel very helpful in making the decisions for my school.
Here are the most popular:
-
Dropbox
-
Google Drive
-
eBackpack – there is per student charge – but very powerful
-
Evernote
-
Box
My personal favorite is Google Drive – here is a tutorial on using it to store student work.
Tip: To help you can learn more about elementary workflow here and eBackpacks here.
5. Offer Guidance with Passwords – For the younger grades, the solution for me was to give each student their own password. The students were asked to use that password for everything. Sometimes this required a variation of it depending on the needs of the site. Repeat this with the username – have them keep the same one for every app. I also had them put all of their account information in their Notes app. Bonus: This strategy worked really well for my overwhelmed teachers, too!
6. Don’t Forget the Creation Literacies – If your district allows, the students will be creating lots of digital content and hopefully sharing it with the world. To help make sure they do this correctly, I wrote a post called “Friends Don’t Let Friends Use Word Art.” It is a must read for any teacher who wants kids to make quality digital products that other people will want to visit, read or watch.
7. Back to School Night – For me this is one of the most important elements of a successful iPad program. It is critical that you put enough time aside, during your session, to talk to parents about 21st century learners and digital student work. If you don’t, parents will come knocking, wanting to know what happened to things like times table worksheets and cursive…this I promise you.
Sell parents early on the idea that their kids live in a world of abundant information and connections, and we have to teach them to effectively learn and contribute in this new environment. Parents learned in a very linear and isolated fashion so that is their comfort level. Show them the limitless possibilities with this type of device and they will become your biggest supporters. This blog post may help you have that discussion with parents.
8. My Top Three Game-Changer iPad Apps – Drum roll please…Subtext, Explain Everything and Touchcast.
Subtext allows students to become more thoughtful digital readers of books, PDFs and websites. They can interact with any text, collaborate on their reading, and help each other with comprehension. Teachers can easily gauge student understanding and make quick decisions to help them differentiate their instruction. I hope a light bulb is going off in your head right now. Here is a post I wrote; Five Reasons Why I Love the Subtext App.
Explain Everything allows students to show their learning by making video and narrated projects. A teacher at my school had students make weekly tutorials or expert videos with the app. These expert videos gave students a time to show their learning to the class by demonstrating how to do a math problem or talk about a part of history. Using EE is a very easy and fun way for students to build very rich media products.
Touchcast is a video creation app like nothing you have ever seen. You can put touchable content into the video, and those watching it on iPad can touch the screen to open that content – all within the video. Visit them at Touchcast.com and prepared to have your mind blown. I am excited to see what kids can do with this app for creating a state report, historical essay, or a 4th grade missions project in California.
9. Get Training – If your district doesn’t value training – then you will have to find it for yourself. There are tons of free webinars out there ,and the best training I ever got was at an iPad Summit – so much so that I begged them to come to southern California, and they agreed, This year there will be two iPad Summits – one in Boston and one in San Diego. Most importantly, get on Twitter and build your Personal Learning Network. Without a PLN, it will be hard to keep up and truly innovate your instruction.
Ideas for Free PD: The team at Modern Lessons will provide these FREE online courses. and The Connected Learning Network will host four free episodes on Getting Going with Mobile Devices.
10. Allow for Failure – Your classroom should be a hot mess at first. Enjoy this, even relish it. Every time someone makes a mistake or something goes wrong, celebrate it like they did at the Apple Distinguished Educator Institute with an arm-raising “Woo Hoo!” Let kids know that failure is okay, and not everything will be perfect. Have fun with failure and messiness that might come from trying something new – it really is the fun part of the process. Another great article to read: Failure is Mandatory – Creating a culture of innovation
Final Tip: Have fun and enjoy the journey! It is a blast!