For over a year, we have been working to dispel the myth that there’s an app for that… However, as Greg continues to document, while there may not be one single app, two might just do the trick.
Explain Everything X Google Drive = Awesome!
Using iPads in the classroom and particularly workflow solutions for iPads has slowly progressed from maddening to relatively seamless. While just last year an app for Google Drive didn’t exist, it now directly interfaces quite nicely with a number of student creation apps and nearly everything can upload to Google Drive using the “open in” feature.
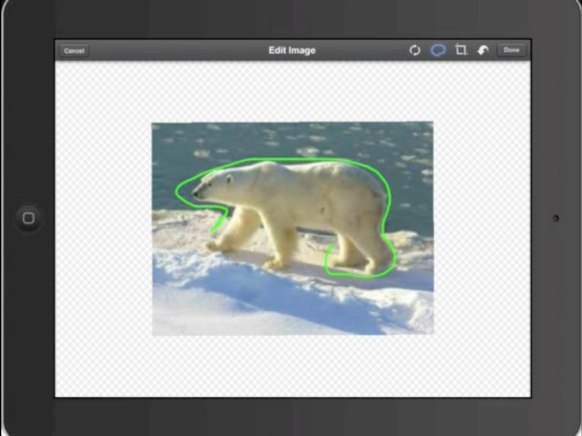
Here is where things get fun. With the recent update to Explain Everything, the app now directly interfaces with Google Drive. This connection allows students to create screencasts, upload them to Google Drive as either .mp4 or .xpl files. Once uploaded they can be shared with the teacher through the Google Drive app, or they can be uploaded to a folder that has been created and shared ahead of time from the student to the teacher. To extended the process, the teacher now has the ability to download the .xpl files from Google Drive and “open in” Explain Everything. This process allows the teacher to view the screencast and more importantly, add a slide with screencasted feedback. The .xpl file can then be uploaded back to Google Drive and the student can download and watch the feedback in Explain Everything. Below is a diagram to explain the process as well as a video tutorial that walks through the entire scenario.
**Update: With a recent update to Explain Everything, videos uploaded to Google Drive can now be played back in Google Drive without being downloaded.**

How can you envision using this workflow solution to have students create and receive feedback?
iPad X Reflector X iMovie = iPad Screencasts
I frequently get questions from people asking how to create screencasts of an iPad. I have tried a number of workflow scenarios that started with various document camera setups, but have settled on the setup below.
The tools used include:
- QuickTime Pro
- Reflector App
- iMovie (MacBook)
The process is quite simple and is described in the image below:
- Mirror an iPad to a MacBook using Reflector
- Use QuickTime to record the mirrored iPad
- Record and create the screencast. I don’t record my voice in this process, instead I focus on the process I am capturing on an iPad.
- Import the video recorded with QuickTime into iMovie. Record the voice overs in iMovie & export the final product to either Vimeo or YouTube.

Greg and the rest of our EdTechTeacher team will be addressing App Smashing and other topics during may of our Summer Workshops in Atlanta, Chicago, and Boston.