

Want to learn more from Ben? Follow him on Twitter: @Mr_Sondgeroth
As a former history teacher, maps were an essential part of my curriculum. From showing locations of battlefields, to explaining territorial expansion, maps help put historical content into perspective. Many of my classroom activities involved using paper maps as visual references, allowing students to see spatially how historical movements affected the events analyzed in class. In my experience as both a teacher and EdTechTeacher Instructor, I find that maps are being used across grade levels and disciplines to help students understand perspective, locations, and many other learning objectives.
For teachers and students utilizing G Suite for Education, creating interactive digital maps has never been easier. With the integration of Google My Maps into Google Drive, students now have the power to engage creatively in mapmaking. With Google My Maps, students are able to create customizable maps that can include images, links to other websites, and many other customizable options.
Let’s look at how your students can go about creating a map in Google My Maps.
Creating a New My Map
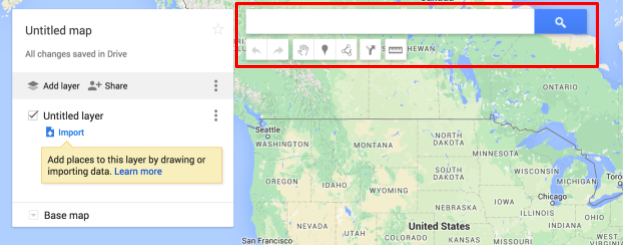
To create a new My Map, students should head to Google Drive, select New, and find Google My Maps under the More option. When the new screen opens, students get a blank map, their new canvas for creation. To start adding to the map students should locate their editing options at the top of the screen. From here students can add markers, measure distances, add directions, or add lines or shapes.
Adding Markers
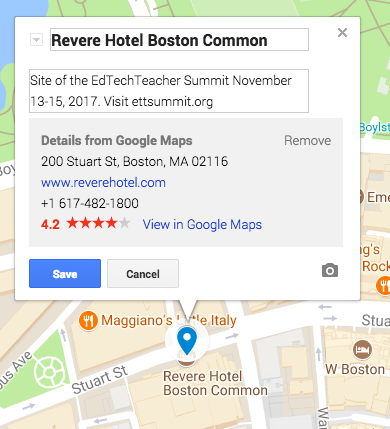
Markers designate areas on the map that are critical to the learning objectives of the lesson. There are two ways to add markers to the map; the first is to use the search bar at the top of the screen. Students can search for specific places by name, latitude and longitude, or addresses. The location will display on the map with a marker and a title. To add that marker to the map, the students select the option “add to map.” With the marker added, the user can now edit and create an engaging place marker.
Classroom Applications for Adding Markers
What may have once been a circle on a paper map can now involve a description, an image, a link to further information, or YouTube video. Using markers to tell a story or curate resources is a great way to create an interactive map. I have seen students document a character’s journey through a novel, create a science journal on weather conditions in different parts of the world, or study the route racers take during the Iditarod. With the multitude of editing options, these uniquely designed maps can truly come alive.
Click these two links to see two examples of how My Maps can be used in classrooms. The first example is a national weather map, created to show what weather conditions in various parts of the United States are, National Weather Map Example. The second is a map created to show the checkpoints from the 2015 Iditarod race in Alaska. Students used this map to track where the racers were at while competing in the race, 2015 Iditarod Race Checkpoints.
Adding Layers
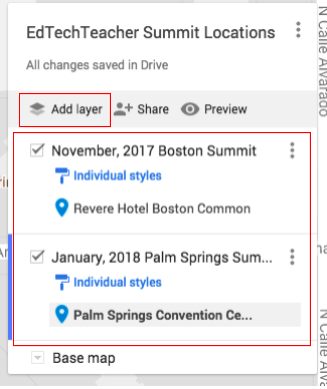
Traditional paper maps put many topics into perspective but often limit the amount of information presented to the reader. My Maps allows users to add multiple layers to the map. Layers separate data in the map, allowing users to select what data is displayed on the map at a given time. Layers allow the viewers of the map to select only the information they wish to see.
Classroom Applications For Adding Layers
In a classroom studying the Civil War, students may create a map of Sherman’s March to the Sea. The students would start their markers in Atlanta and drop a marker at known stops made by the army in route to Savanna. After adding the appropriate markers, the students can add a new layer of walking directions, allowing them to then discover the distance and time it may have taken the soldiers to complete the march.
Sherman’s March to the Sea Example
Importing Data
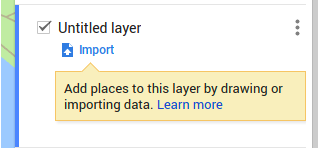
My Maps allows users to import data into their map. When the students create a new layer, they have the option to select “import data.” The data can come from different file types including: KML, CSV, and a Google Sheet. Using a Google Sheet allows teachers and students to bring data collected from a Google Forms into a My Map project.
Classroom Applications for Importing Data
Students can submit information on a class topic into a teacher generated Google Form. Within the form, the teacher should include a question on the location of the student’s topic. This process is best used with latitude and longitude coordinates or zip codes. After selecting “import data,” the user should select the Google Form responses spreadsheet from their Drive, and the map will populate with the destinations from the sheet.
Sharing My Maps
My Maps are collaborative and allow multiple users to edit the same map; however, the collaboration does not appear in real time and requires those editing to refresh their screens to see the other’s work.
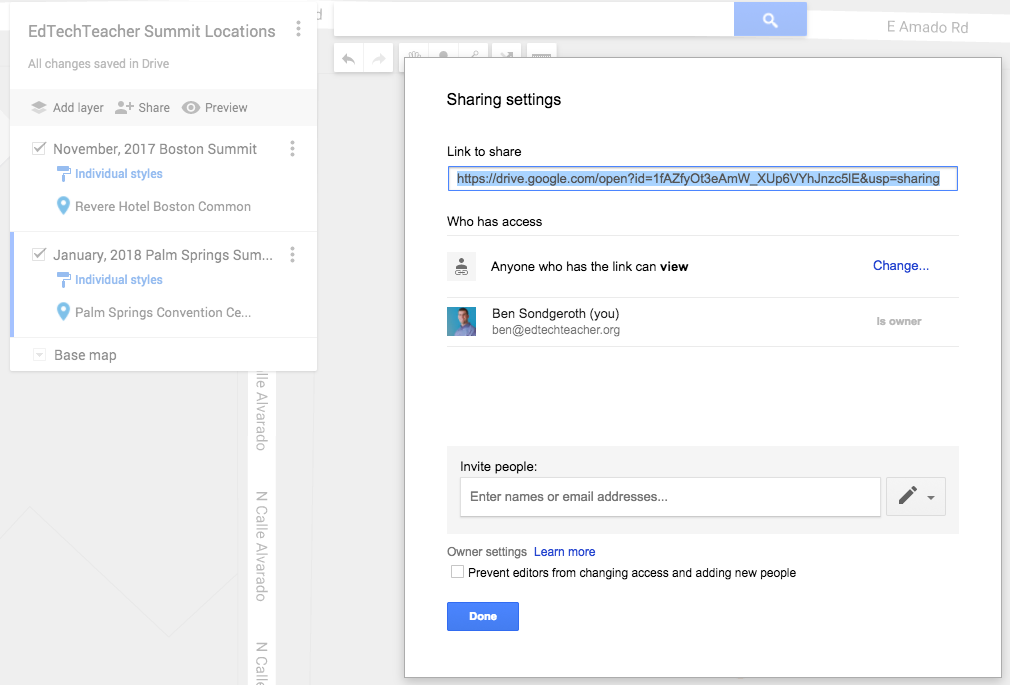
Once completed, students can share their map with the world. When the map is shared, viewers have access to all the information, layers, and data added by the student.
Wrapping it Up
Google My Maps allows students and teachers to engage in map creation in ways not possible with a paper map. My Maps opens doors to places students may never visit, allowing them an opportunity to see things from new and exciting perspectives. Give My Maps a chance, and see how your lessons can transform!
Learn More
Want to know 10 more ways you can bring maps to your classroom? Continue reading Ben’s follow up post 10 Next Level Classroom Applications for Google My Maps